|
|
||||||||||||
|
OK, time for some photos of my track... |
|
|
|
||||||||||||||||||||||||||||||||||||||||||||||||||||||||||||||||||||||||||||||||||||||||||||||||||||||||||||||
|
[C&R Racing] [Decals] [More Pictures] [C&R Bodies] [Bridgehampton] [Order Form] [Smart Blog] [Book reviews] [Alder Park] |
|
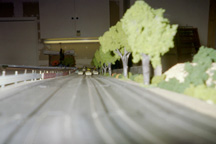
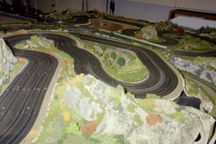
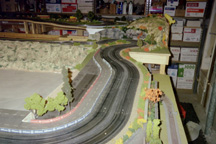
...leads into this sweeping right-hander, which leads onto the 15ft back straight. |
||
|
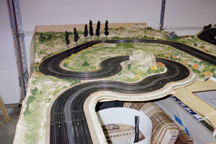
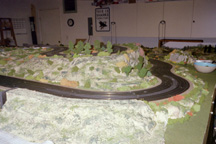
The back straight ends in another sweeping right-hander, which leads further up hill into a rather complex series of corners, leading onto a 9ft downhill straight, barely visible on the left |
||
|
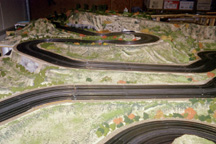
That straight leads into this right hairpin, followed by some sweeping downhill turns... |
||
|
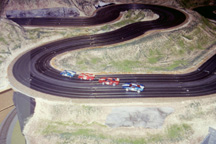
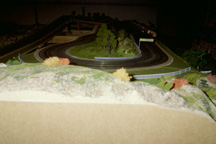
...seen here...and then the final right onto the main straight. Standard Tjets take about 25sec; SG+ about 17sec. |
||
|
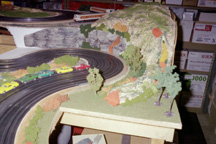
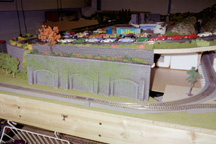
Scenery includes an operating HO train. This photo is taken from the the right side of the photo above |
||
